


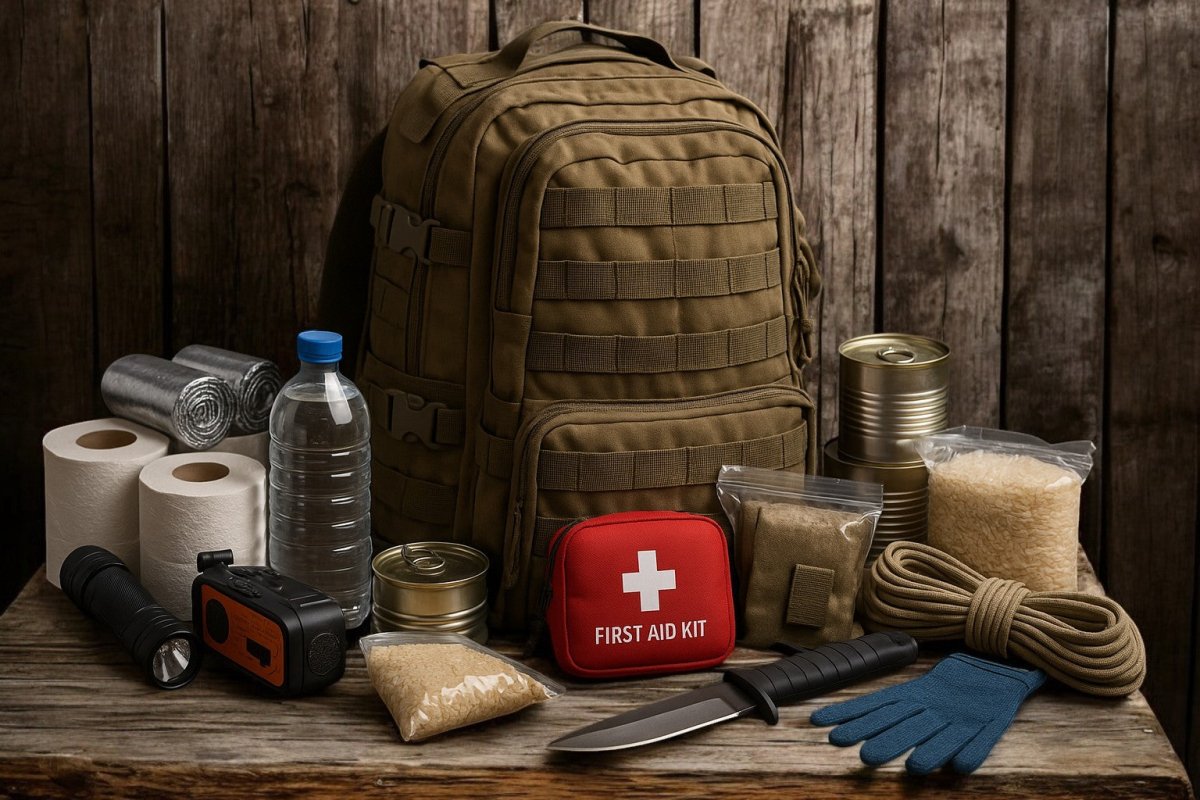
Why prepare a 48h/72h evacuation bag? Anticipate natural disasters and crises The advantages of a well-prepared emergency bag Detailed composition of an effective evacuation bag Food autonomy: essential for 48h to 72h Hydration: absolute priority for your survival kit Protect yourself effectively against the elements Plan appropriate medical care Signaling equipment to stay in contact Various useful equipment to integrate Practical steps to prepare your 48h/72h evacuation bag Assess your needs according to your environment Practical organization of the emergency backpack Duration and autonomy: how to effectively manage resources? Mistakes to avoid when preparing your evacuation bag Overloading or underestimating the weight Neglecting to maintain and update your family emergency kit Use the Planète Rando configurator to create your personalized evacuation pack Evacuation scenarios: city vs. countryside Evacuation in an urban environment Evacuation in a rural or mountainous area Adapting your evacuation bag for children, babies and animals For children For babies For pets Comparison of the different types of equipment to include in an evacuation bag Conclusion: the vital importance of a well-prepared evacuation bag
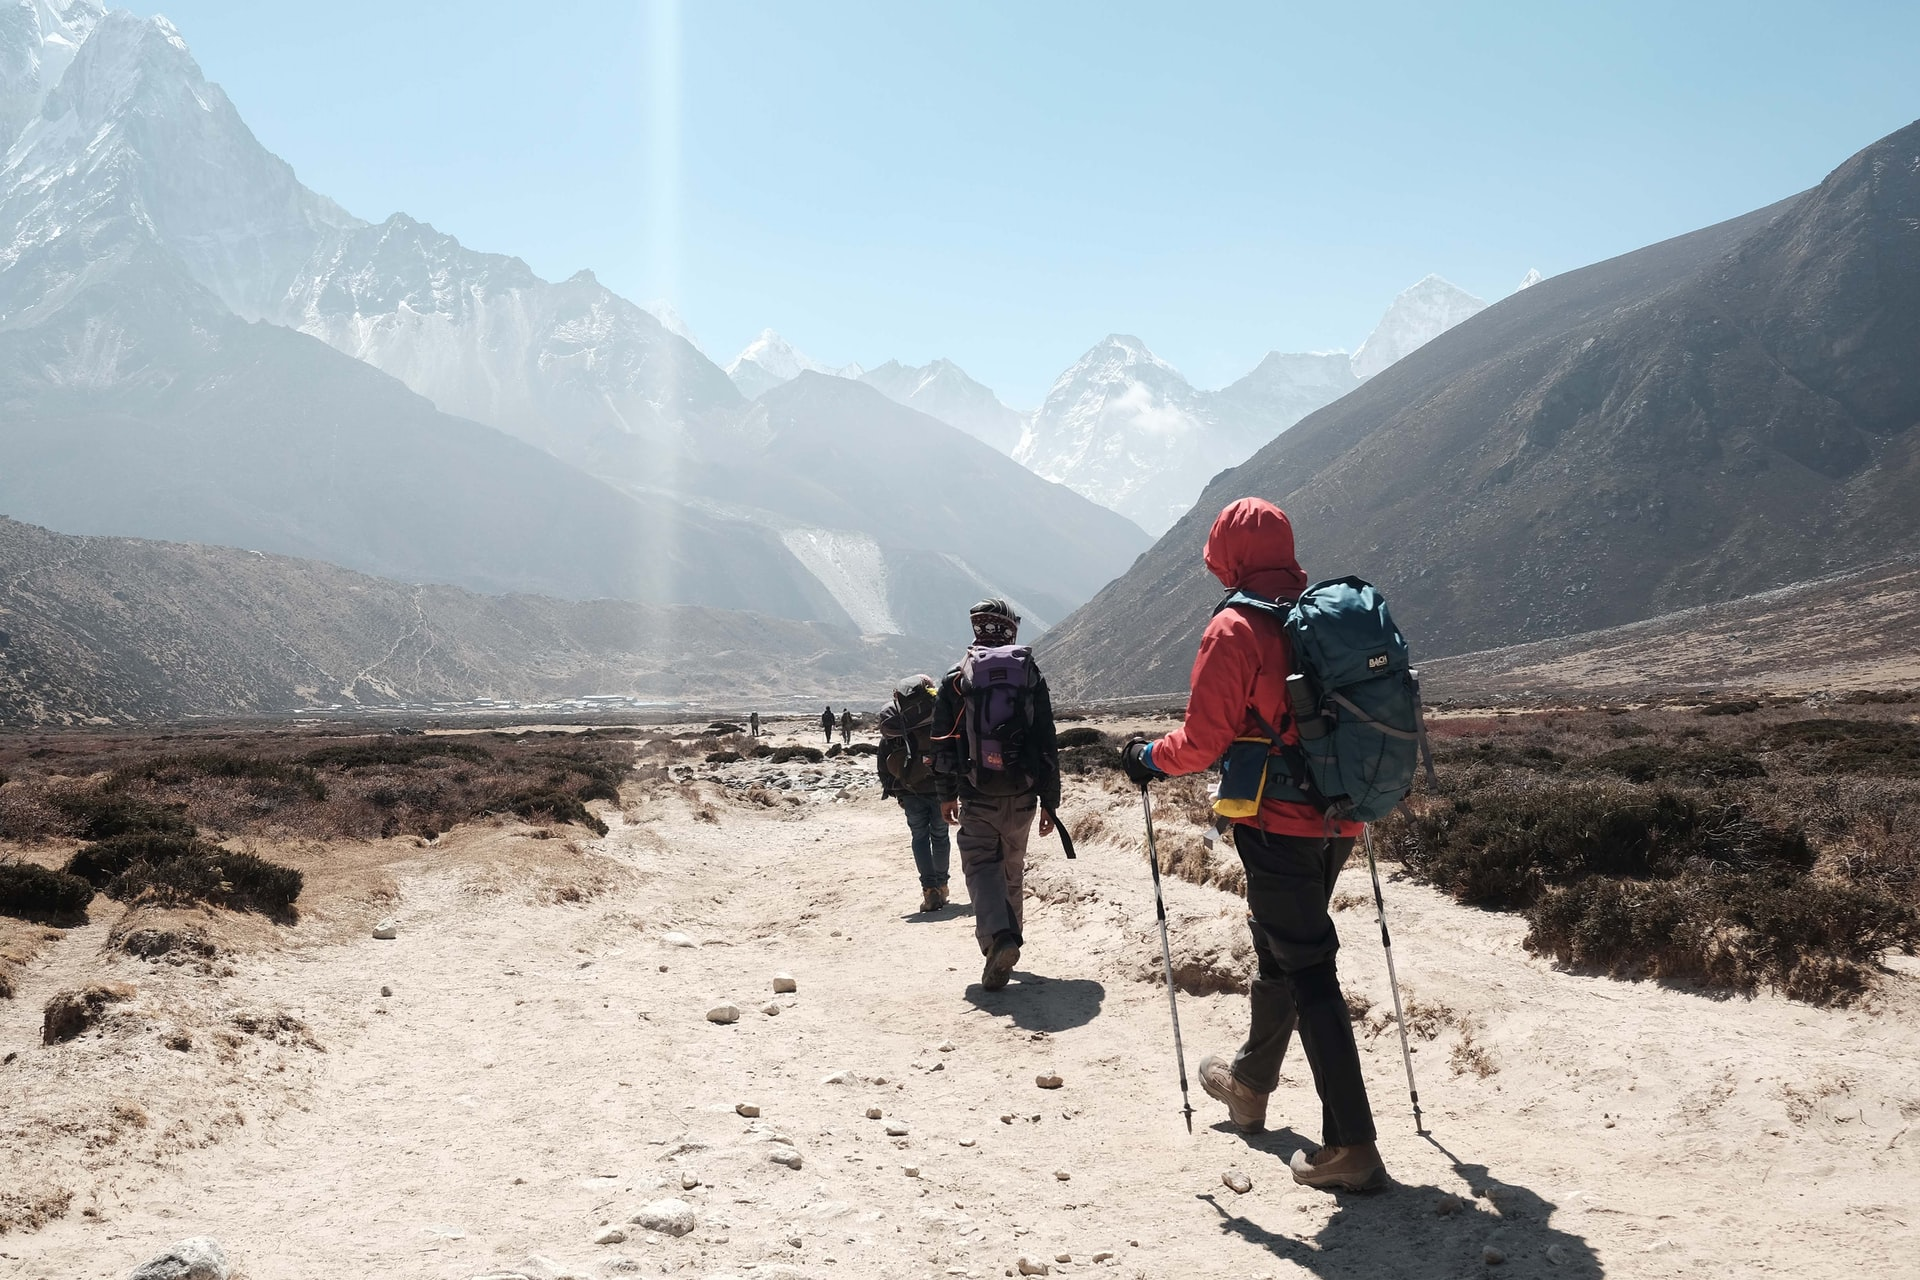
In the face of a major crisis, your safety depends directly on your ability to react quickly. Preparing a 48/72-hour evacuation bag (Bug Out Bag) is crucial to ensuring your autonomy during the critical first hours of a disaster. This in-depth guide explains how to effectively put together this emergency kit , to ensure your survival for 48 to 72 hours without outside help.
Why prepare a 48/72 hour evacuation bag?
Anticipating natural disasters and crises
Natural or technological disasters, such as earthquakes , floods , storms , power outages or even prolonged confinements , do not always give warning. Having a well-prepared evacuation bag allows you to leave your home immediately in an emergency, with all the necessary resources. Without prior preparation, you could lose crucial time gathering your belongings, putting your safety and that of your loved ones at risk.
The Benefits of a Well-Prepared Emergency Bag
A carefully prepared disaster kit provides vital psychological and material security in times of crisis. Having a family emergency bag ready to go saves valuable time during a rapid evacuation. This efficiency reduces stress, improves your decision-making skills, and significantly increases your chances of survival.
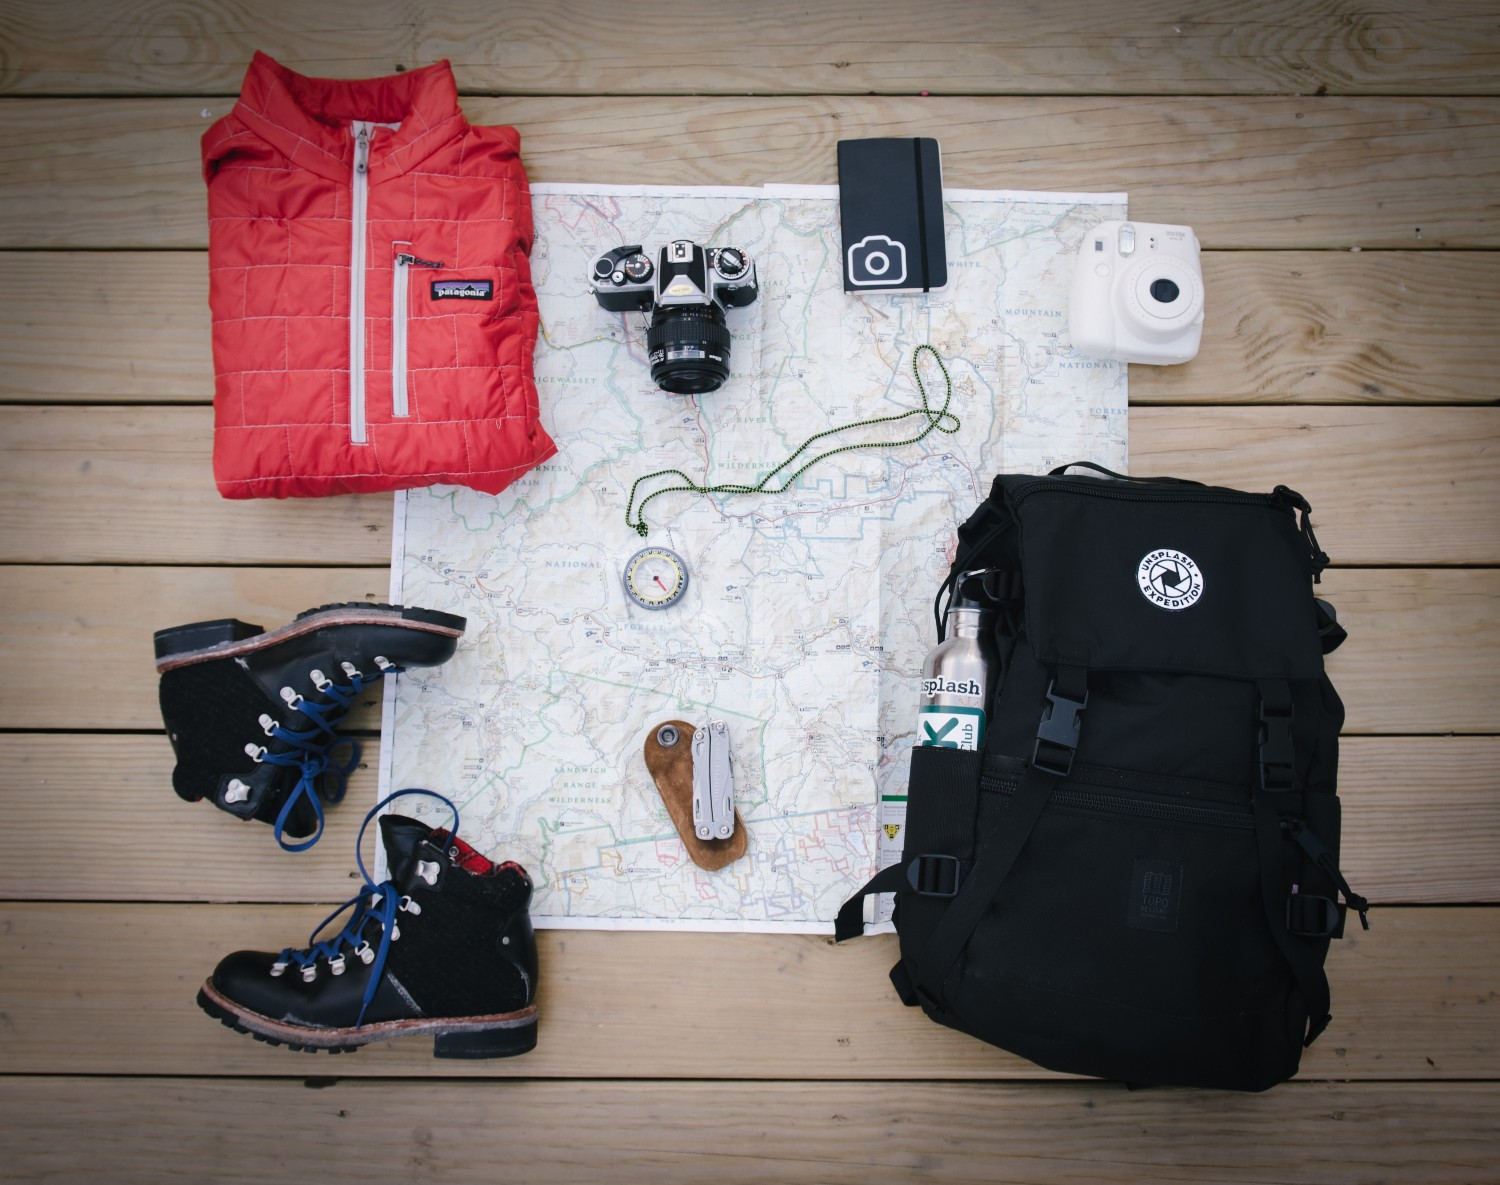
Detailed composition of an effective evacuation bag
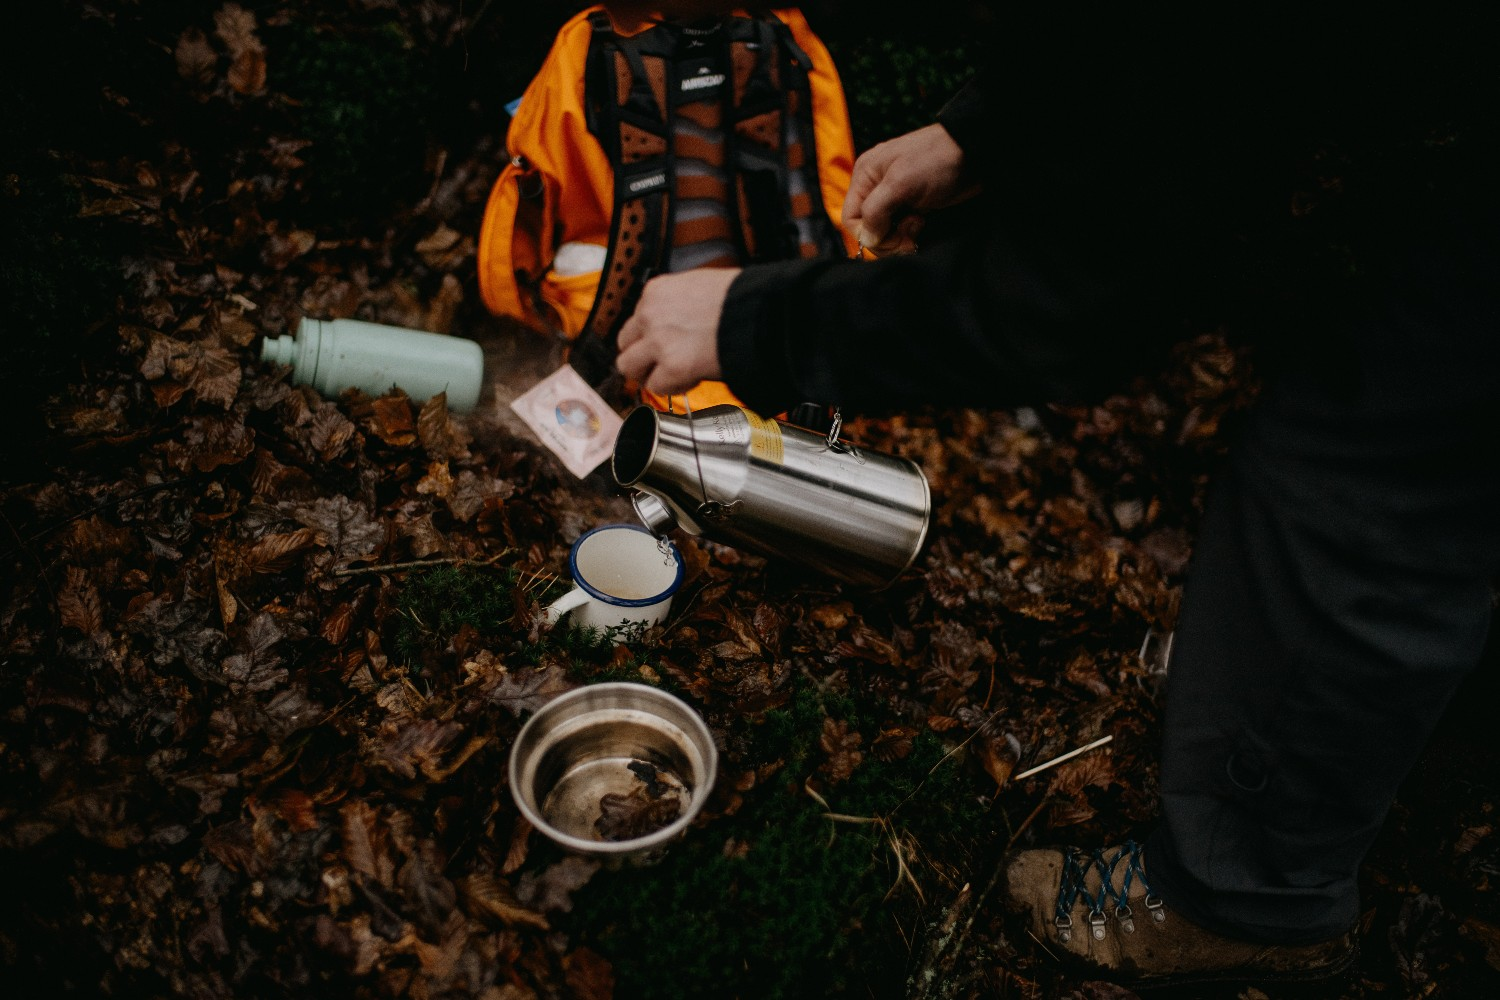
Food autonomy: essential for 48 to 72 hours
Your emergency bag should contain non-perishable foods that can be eaten quickly and without complicated cooking. Emergency biscuits , long-lasting energy rations , and freeze-dried food are ideal options due to their high calorie content and small size. Consider adapting these food choices to each family member's preferences and dietary restrictions.
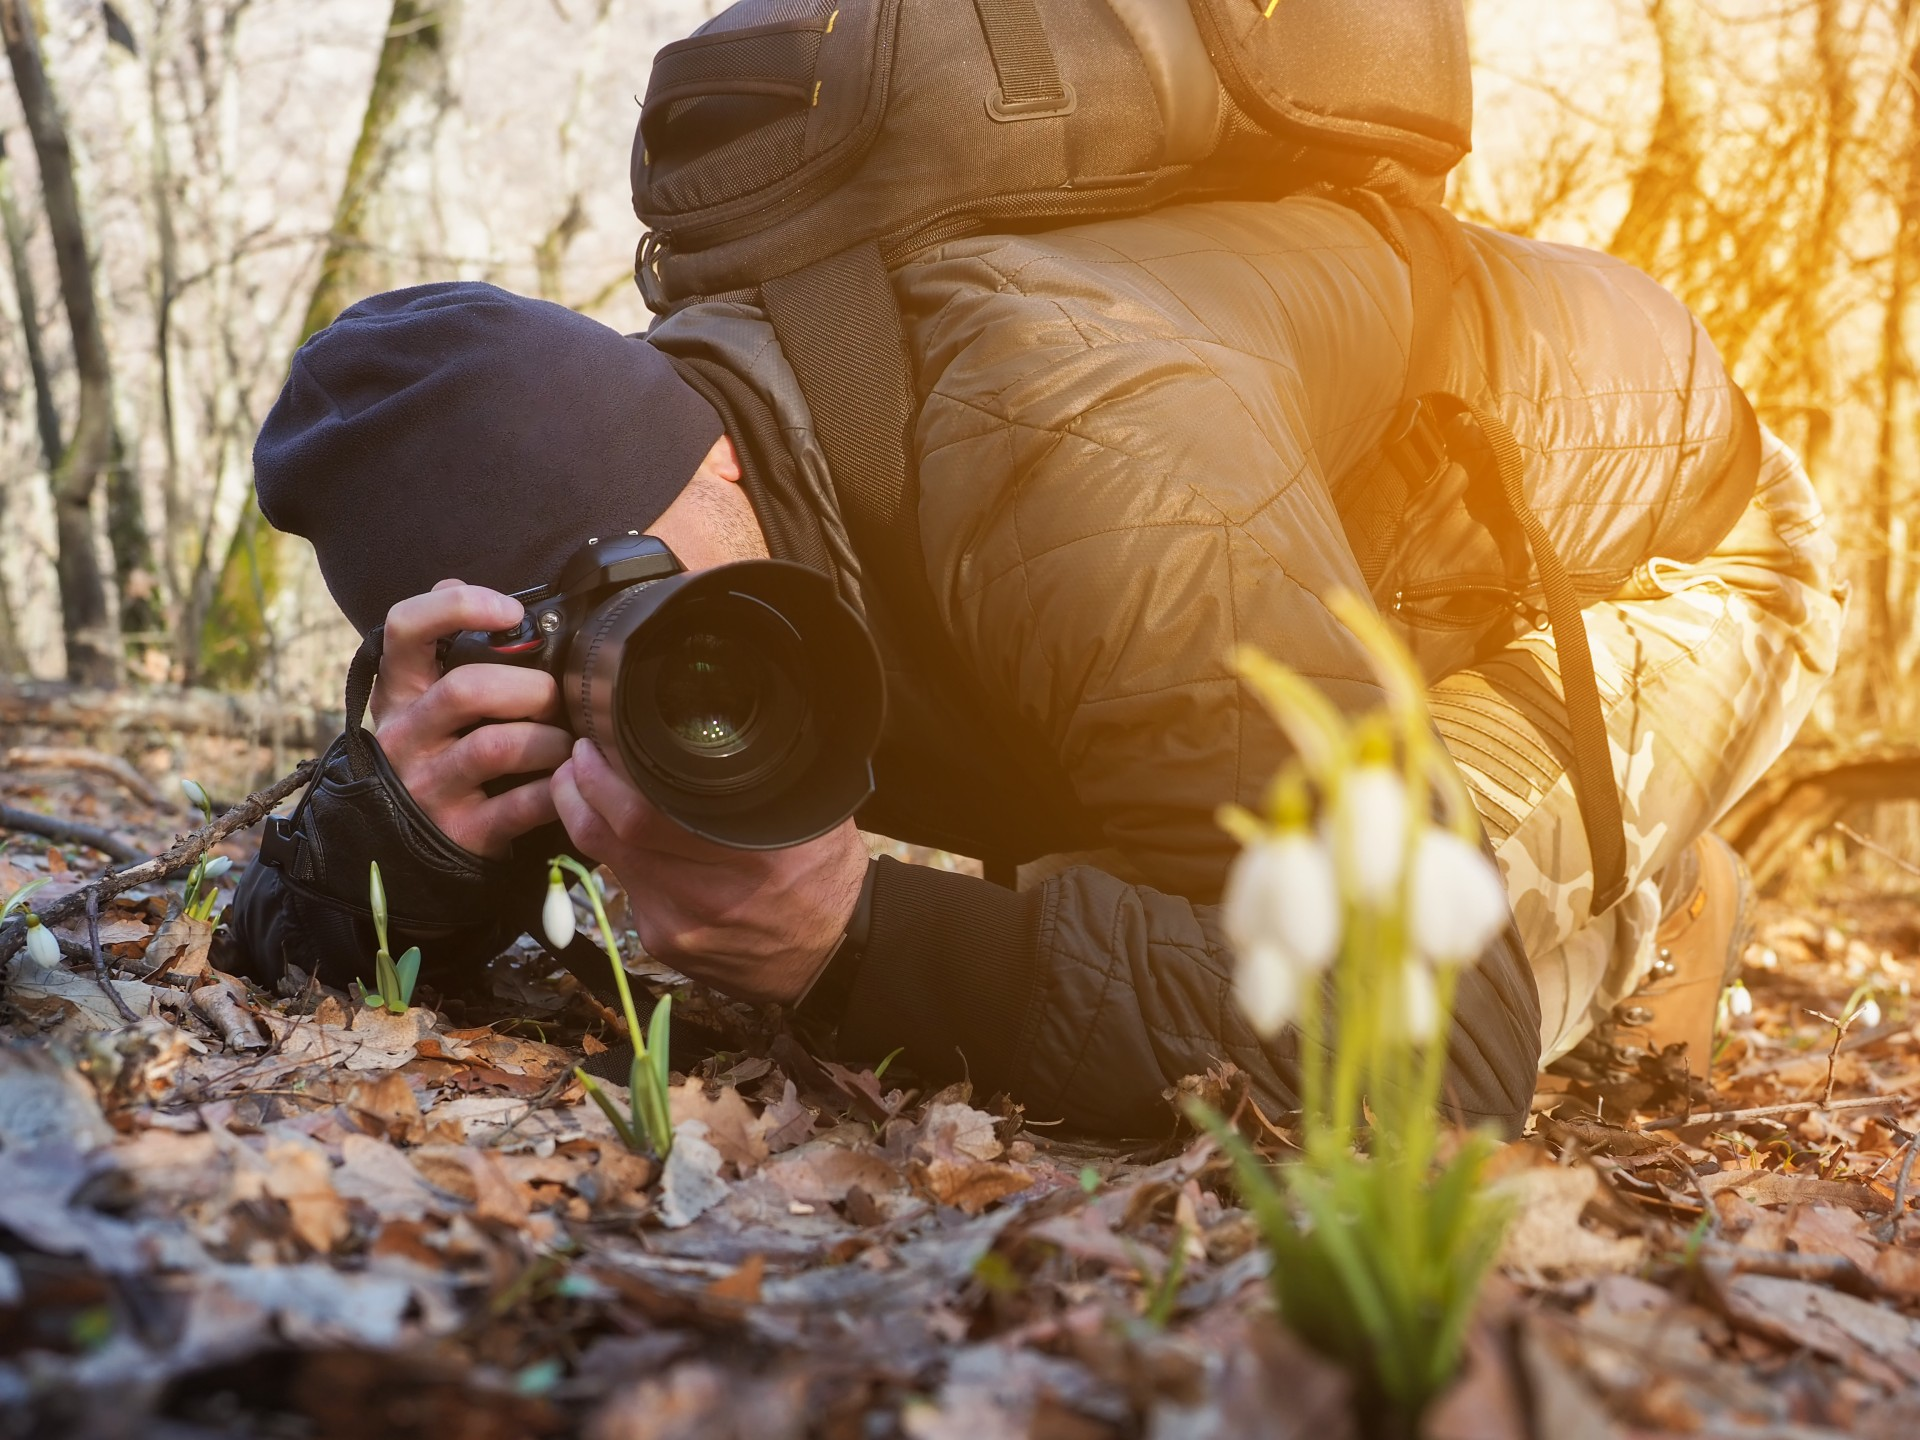
Concrete example: Julie, a hiker in a mountainous region, always keeps three bags of freeze-dried food (pasta, lentils, soup) in her bag, easy to rehydrate with hot water obtained using a compact stove.
Also add high-energy snacks like dried fruit, protein cereal bars, or natural fruit jellies. These small foods are ideal for maintaining good energy levels during long walks.
Hydration: Top priority for your survival kit
Water is the number one vital resource. Include several hydration solutions, such as sealed drinking water bags, a reusable filter bottle , and water purification tablets . In addition, learn how to purify water with simple methods like boiling or homemade filtering in extreme situations, thus increasing your water autonomy.
Concrete example: During the 2022 floods in the Southwest, an evacuated couple had only their filter water bottle to survive for three days. With drinking water cut off, this tool made all the difference.
Don't forget to also include a lightweight container ( such as a soft pouch or collapsible bottle ) to carry the water once collected. This improves your mobility.
Effectively protect yourself against the elements
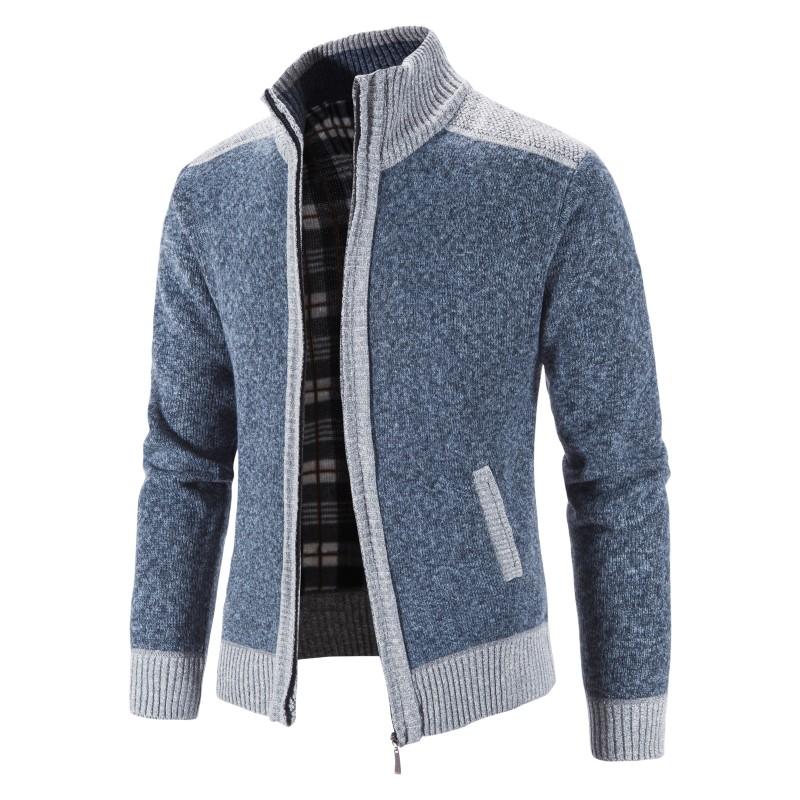
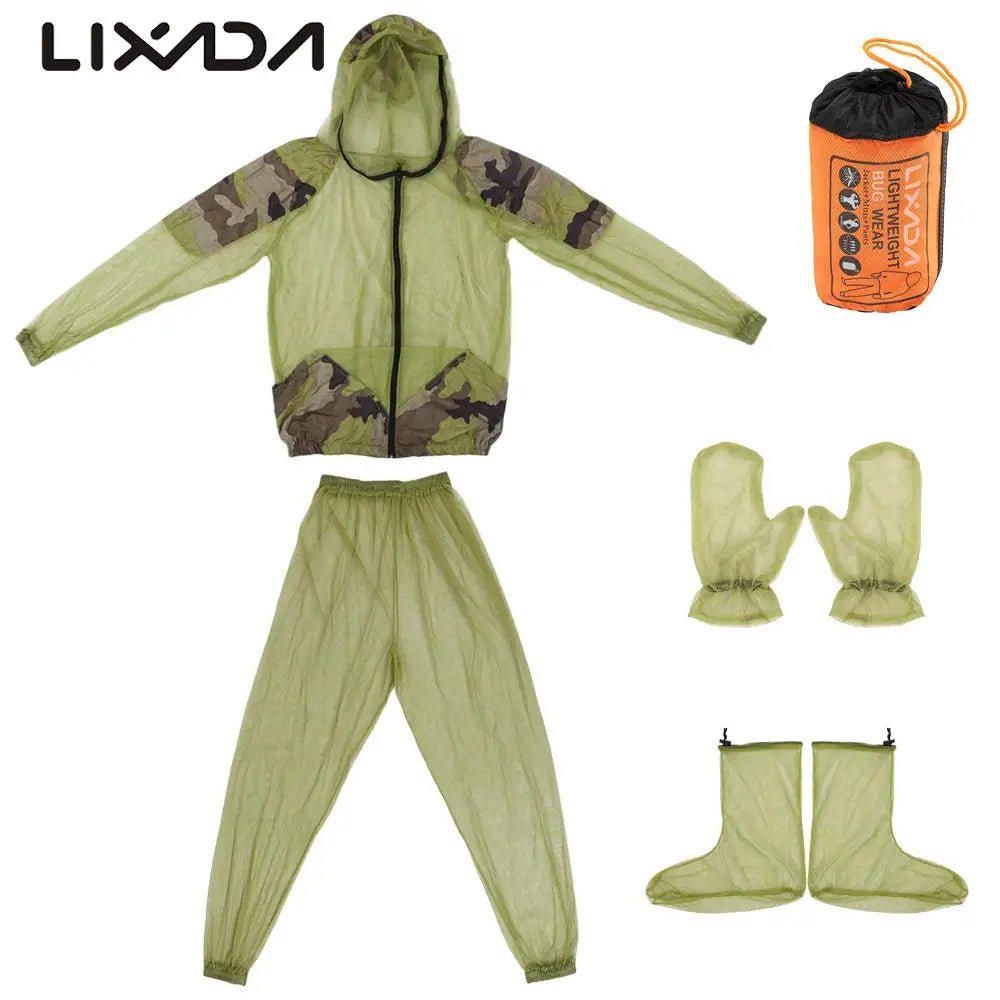
Your bag should contain gear to effectively cope with harsh weather conditions. A lightweight, compact thermal blanket , a waterproof poncho , and a face mask provide effective protection against the cold, rain, or potentially harmful dust. Complete your kit with warm clothing appropriate for the season and your region.
Add a pair of insulated gloves, a hat, thermal socks, and, if possible, technical underwear. These items will significantly increase your thermal comfort, even without an external heat source.
Provide appropriate medical care
Medical preparation is essential. Put together a comprehensive medical kit that includes bandages, compresses, antiseptics, and essential medications specific to your family's needs. Regularly check expiration dates and familiarize yourself with the use of each item in your kit to ensure optimal use in an emergency.
Concrete example: Jean, allergic to insect bites, included a dose of self-injectable adrenaline in his first aid kit. This foresight saved his life during an impromptu bivouac following a flood warning.
Also remember to include tweezers, a tick remover, a hemostatic blanket and a card with the medical history of each family member (blood types, allergies, current treatments).
Signaling equipment to stay in touch
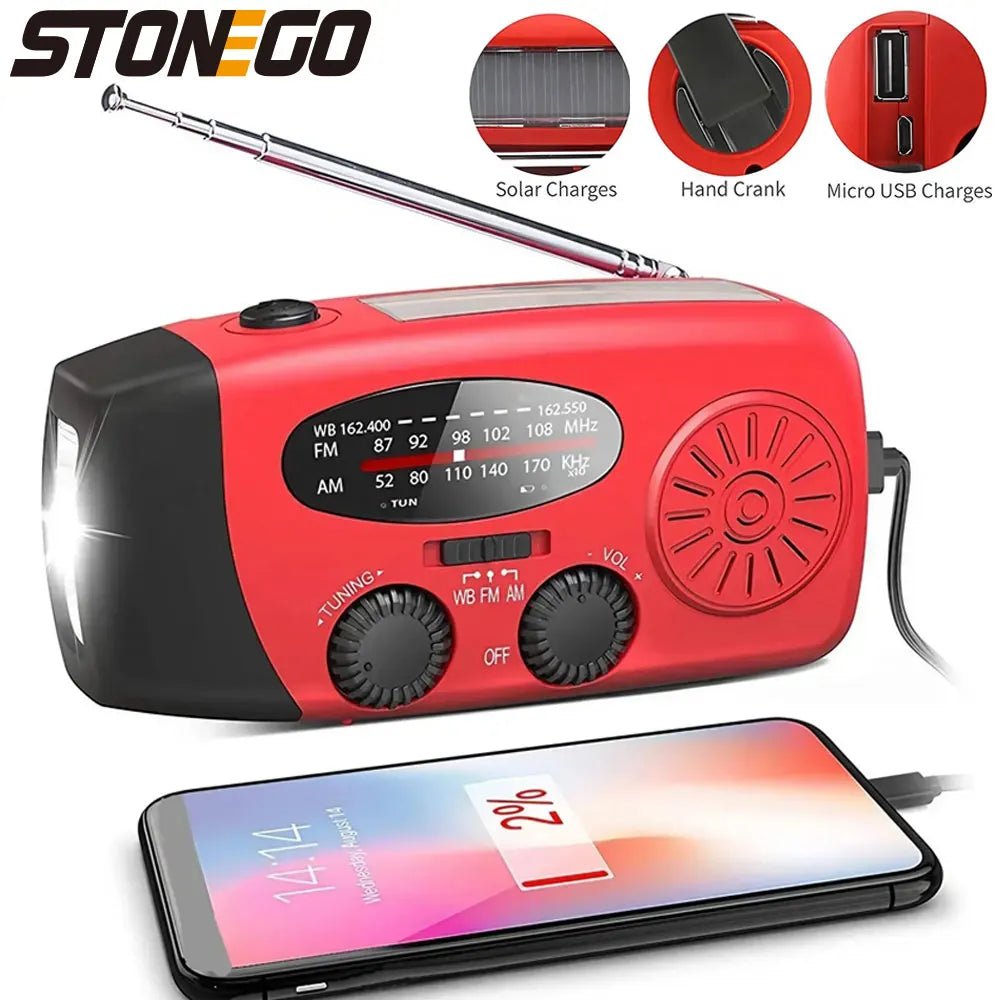
Proper signaling tools are vital for communicating your location in an emergency. Pack a dynamo flashlight , a portable AM/FM radio with extra batteries, and a loud emergency whistle to signal your presence to emergency personnel. Familiarize yourself with the use of each device so you can respond effectively in a real-life situation.
Also add a headlamp with a rechargeable battery, an extra set of batteries, and perhaps a signal mirror or a flashing beacon. All of these things increase your chances of being spotted quickly.
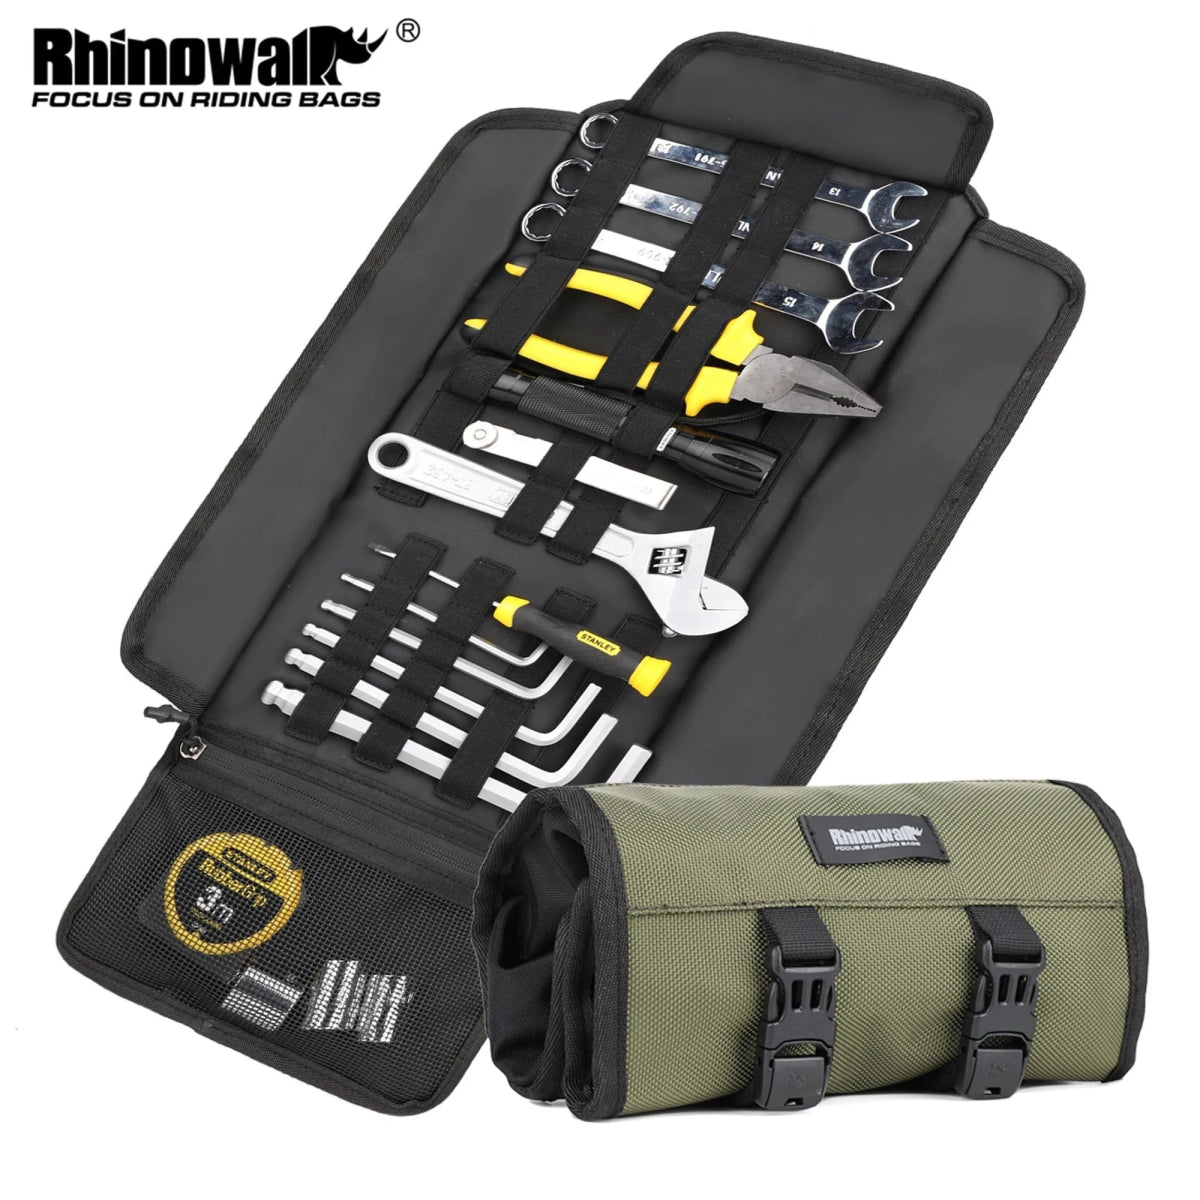
Various useful equipment to integrate
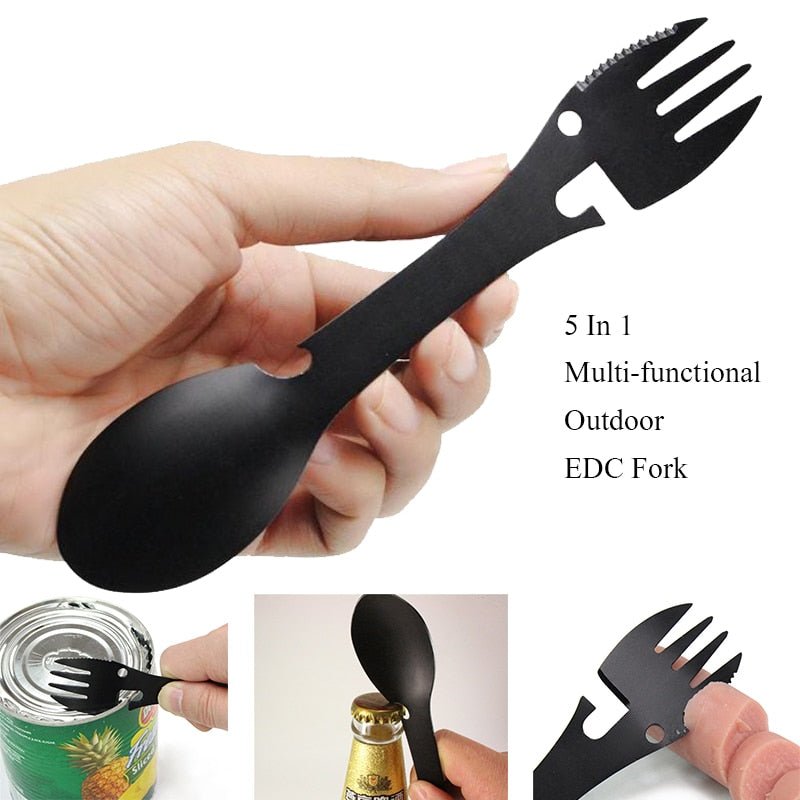
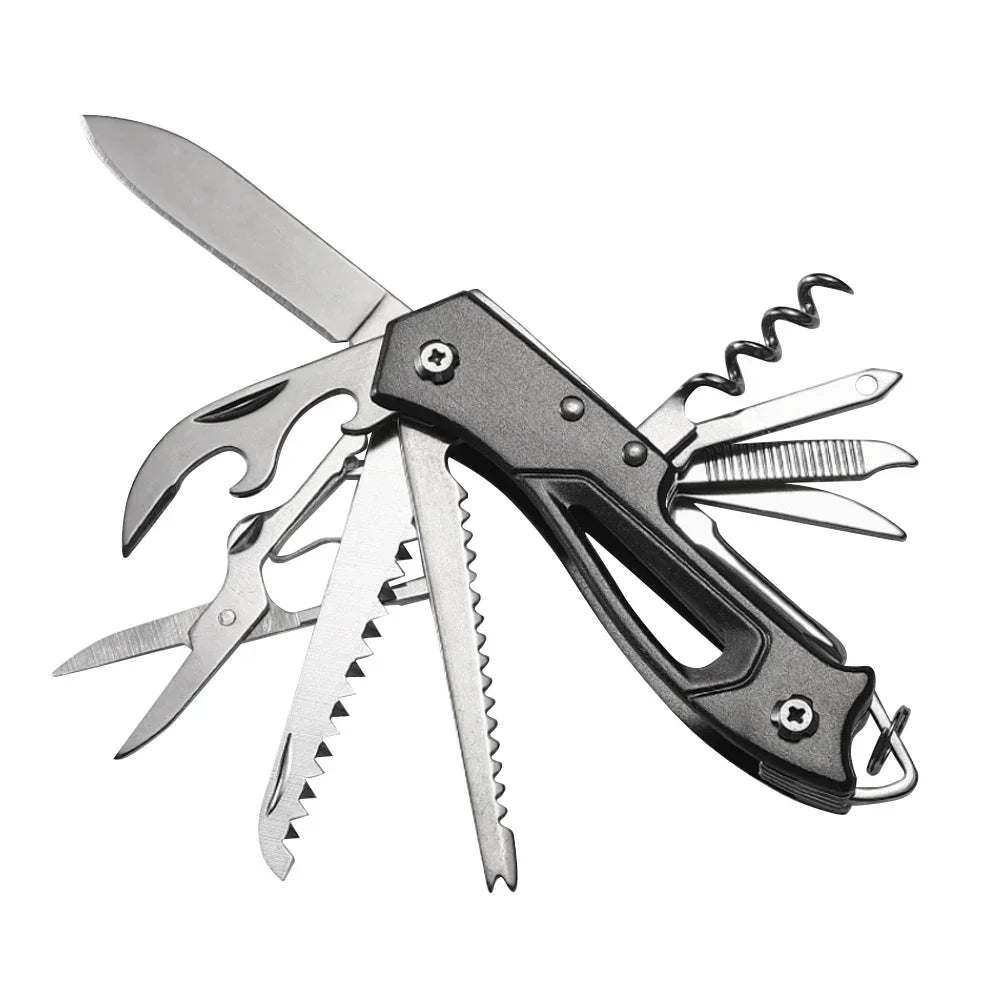
Your kit should contain a variety of practical tools to help you deal with unforeseen situations: a sturdy multi-purpose knife , candles and matches or a waterproof lighter , a waterproof notepad for taking crucial notes, and cash in small denominations for situations where electronic payments are not possible.
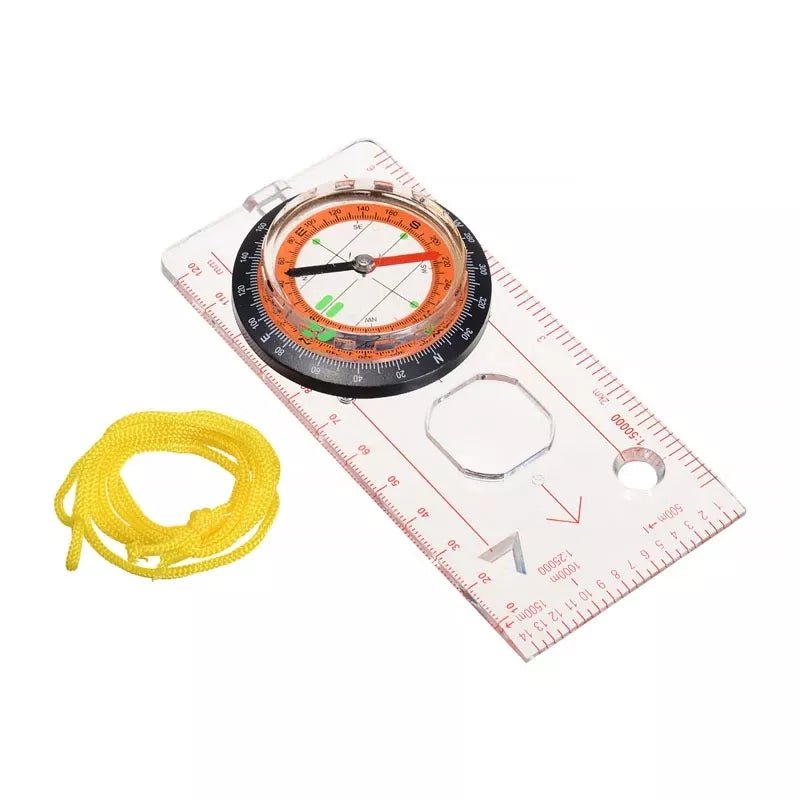
Add a compass, a paper map of your area, heavy-duty tape, cable ties, a multi-purpose cord, and a sturdy trash bag that can double as both waterproof storage and emergency thermal protection.
Practical steps for preparing your 48/72 hour evacuation bag
Assess your needs based on your environment
Analyzing your immediate environment allows you to precisely identify the specific risks to which you are exposed. Whether you live in an urban, peri-urban, or rural area, your family emergency kit should be personalized according to the nature of the identified risks (flood, earthquake, etc.). Also adapt your bag according to the composition and specific needs of your family (children, elderly, pets).
Create a priority chart with different emergency scenarios to determine what you would need first. This allows you to fine-tune the contents and layout of the bag.
Practical organization of the emergency backpack
Effectively organizing the contents of your emergency backpack is essential to ensuring optimal responsiveness. Strategically organize your equipment based on frequency of use and potential emergency: prioritize accessible essential equipment (water, food, medical care). Clear and intuitive organization facilitates rapid use of equipment in the event of a rushed evacuation.
Use compartmentalized pouches or zip-top bags to organize categories (care, food, hygiene, etc.). Place heavy items close to your back to improve carrying comfort and reduce fatigue.
Duration and autonomy: how to manage resources effectively?
Learn how to manage your resources effectively to ensure 48 to 72 hours of self-sufficiency. Plan for judicious rationing of food and water, favoring moderate and reasonable consumption to avoid shortages. Establish time benchmarks and monitor your stocks regularly during the evacuation period to optimize their use.
Record your consumption in a notebook or on your phone to keep a clear record of what's left. This will prevent accidental overindulgence in the first few hours of evacuation.
Mistakes to avoid when preparing your evacuation bag
Overloading or underestimating the weight
An evacuation bag that's too heavy can slow your journey, while one that's too light could be missing essential items. Conduct regular tests to adjust the weight of your bag and ensure it's appropriate for your physical ability and the distances you'll likely travel in a real-life emergency.
Take a test walk with your bag for 3 to 5 km to assess its ergonomics. Readjust the contents according to your feelings and priorities.
Neglecting to maintain and update your family emergency kit
An evacuation bag requires regular and rigorous maintenance. Periodically inspect the equipment, replace expired food and medications, and adjust your kit as your family's needs change. Quarterly maintenance is recommended to maintain optimal efficiency of your bag.
Remember to review the contents of your bag with each change of season, to include equipment suitable for cold or heat depending on the period.
Use the Planète Rando configurator to create your personalized evacuation pack
To make packing your bag easier, Planète Rando offers a smart evacuation pack configurator . This tool guides you step by step through putting together your kit, taking into account:
of the desired duration (48h, 72h, or more),
the number of people to be equipped (individual, couple, family),
the type of threats to anticipate (flooding, confinement, blackout, etc.),
of your preferences in terms of comfort and mobility.
In just a few clicks, the configurator offers you a personalized selection of equipment , all compatible with each other, validated by hiking and survival professionals. You save time, limit forgetfulness, and are sure to leave with a bag perfectly adapted to your profile.
Try the configurator for free from the Planète Rando online store and discover your ready-to-use survival pack , delivered directly to your home.
Evacuation scenarios: city vs. countryside
Evacuation in urban areas
In cities, evacuations can be particularly complex due to population density, traffic jams, and the risk of access disruptions (blocked roads, suspended public transportation). Your bag should contain a city map, alternative exit routes, and a respiratory mask to filter out dust or fumes. Shortwave radios will allow you to receive official information despite a congested network.
Specific advice:
Choose a discreet bag that doesn't attract attention.
Add an external battery for your electronic equipment.
-
Bring a local transport card and cash in small denominations.
Evacuation in rural or mountainous areas
In the countryside, the risks are different: isolation, slower access to emergency services, often non-existent networks. It is essential to have good autonomy: water , long-life food , lighting , and light shelter (tarp or tent).
Specific advice:
Include a compass and a paper IGN map of the region.
Plan for solar batteries or a dynamo.
Carry more food, as resupply points are scarce.
Adapting your evacuation bag to children, babies and animals
For children
Children have specific physiological and emotional needs. Add to your bag:
suitable snacks (compotes, biscuits),
a complete change of clothes,
reassuring objects (comforter, book, light games),
-
earplugs or noise-cancelling headphones (for anxiety-provoking situations).
Tip: Prepare a mini-identity card (name, first name, blood type, allergies) laminated to attach to their bag or coat.
For babies
The 72-hour kit includes:
diapers (minimum 10 per day),
wipes and diaper cream,
infant milk and sterile or disposable bottles,
small pots and spoons,
soft blanket and hat.
Practical advice: choose compact, single-use versions to save space and improve hygiene.
For pets
If you have a dog or a cat, their survival depends on your organization:
kibble or pâté in sachets,
foldable bowls,
sturdy harness and leash,
health record or photocopy of vaccinations,
lightweight carrying bag or foldable blanket.
Don't forget to also bring waste bags and an ID tag attached to the collar or harness.
Comparison of the different types of equipment to include in an evacuation bag
| Equipment | Economical option | Intermediate option | High-end option |
|---|---|---|---|
| Food | Military biscuits | Freeze-dried rations | Self-heating complete meals |
| Hydration | Purifying tablets | Filter bottle | Filtration system + flexible tank |
| Thermal protection | Emergency blanket | Extra sleeping bag | Compressible technical duvet |
| Reporting | Basic whistle | LED lamp + batteries | Headlamp + dynamo radio |
| Medical care | Basic kit | Kit with antiseptics | Complete kit with medical scissors |
| Multi-function tools | Simple folding knife | Compact multi-function tool | Leatherman or professional equivalent |
| Energy | Candles + lighter | 10,000 mAh external battery | Combined solar battery and dynamo |
| Navigation | Paper map only | Map + compass | Waterproof and autonomous GPS |
This chart helps you choose equipment based on your budget, needs, and weight constraints. Ideally, you should mix reliable options while keeping in mind the volume and total weight of your bug-out bag.
Conclusion: The vital importance of a well-prepared evacuation bag
Preparing a 48/72-hour evacuation bag is essential to ensuring your safety and that of your loved ones in the event of a major disaster. Don't leave your safety to chance. Visit Planète Rando now to select the equipment best suited to your needs, try the evacuation pack configurator , and be ready for any eventuality.
Latest News